Monday 29 December 2014

Christmas Decor Galore 8


And finally the time has come for our Christmas Tree decorations.
This is a wooden bauble, decorated with napkin, some holo glitter, red and white cord and a sequin bow.


On the reverse I used a napkin with vintage angels, gold structure paste from Lidl plus stencils and a sprinkle of  gold glitter.

Christmas Decor Galore 7


This board is sort of office-appropriate.
I used blue paint, printable image from PicMonkey for transfer, wooden stars, perlen pen, cameleon paste for blue sheen.


Thursday 25 December 2014

Christmas Decor Galore 6


And here's the picture that suited my mum's taste best. 

Products used:
paint
 napkin
 acrylic stamp with X-mas wishes in different languages
glitter glue
glitter varnish

Wednesday 24 December 2014

Christmas Decor Galore 5


This Christmas board was grabbed by Mr. Hubby as soon as he saw it. Its minimalistic style appealed to his taste and also matched the design of his studio. 
This is a double-sided wooden board with 2 urban winter scenes revealing no religious persuasion. 
For the first one I used only a napkin, glue, acrylic paint, crackle varnish and antique paste to fill in the cracks.


For the reverse I used a napkin, crackle varnish, stencils and acrylic paint, structural paste and a sprinkle of glitter in the windows.

Sunday 21 December 2014

Christmas decor galore 4


And yet another X-mas wooden plaque, this one is double sided. 
One side is a Christmas fair napkin plus stencils and glitter, stencils and structural paste, acrylic palin to blend the edges, crackle varnish+ Korean eye pigment to fill on the cracks.


And on the reverse I used a napkin, snow paste, a combination of matte and high shine varnish for a 3D effect plus a sprinkle of glitter here and there. 

This was grabbed by my friend Kasia and flew away to London.

Wednesday 17 December 2014

Christmas decor galore 3


These two little birdies caused a minor discord during a 'family fair' during which I offered my works to the family members. The Great Grandma fancied the same ornament as my mother-in-law and one of them had to let it go. So I produced more than two not-so-identical  replicas to keep everyone satisfied.

Products used:
wooden board
napkin
matte varnish
white and taupe paint
stencils
glue
glitter


And here's the reverse

Saturday 13 December 2014

Christmas decor galore 2


This is a plaque that was so popular among my family members that it was copied for a number of more or less similar replicas. I adore those charming tits sitting on frozen boughs. It looks like one of those postcards my grandma used to get from her friends living in the better, brighter western world.

Materials used:
acrylic paint
crackle varnish
napkin
stencils 
glitter
transfer medium
Mod Podge Dimensional Magic
clear, satin varnish

Christmas decor galore

In this post and the ones to come you'll see what has recently left my production line.
I'm starting with this cute bird house full of glitter, snow flakes and other festive ornaments. 
Come spring I'll turn it around and produce something season appropriate!

Products used:
wooden house with a hanging heart
acrylic paint
crackle varnish
napkin
stencils, glue and red glitter
festive ribbon from Lidl


Friday 31 October 2014

PUMPKIN SPICE JAR


Since it's Halloween today, I thought I'd post something occassion appropriate. 
It's a pumpkin spice jar, but it's more about how to label your spice jars in a slightly more interesting way than simply attaching a sticker. The advantage of my label is also that you can always wipe the product name off and use the jar for something other.


What you need is a jar, any jar will do, chalkboard paint, a rubber 'label' stamp, some white acrylic paint and some matte varnish. If you want a jar with a twist, like mine, you'll also need some fun image to stick on. 
I decided to use some masking tape to ensure a straight line when painting it black, then coated the jar with two layers of black paint. After drying overnight I stamped the label on the jar. 


To add something Halloweeny and pumpkin-related to my pumpkin spice jar I decided to stick on a printed out image on the reverse. A tissue would have been a better choice as far as the blendability of the image is concerned, but if when working with black background white and non-transparent objects serve the purpose better. To improve the elasticity of paper I soaked the image in water before sticking it onto the jar with some glue.

Then I coated the entire jar, except the inner part of the label, with matte varnish, and after it dried evened out any rough edges with sandpaper and added another coat of varnish. 
When this dried, the only thing left for me to do was to write the name of the spice with wet chalk and proudly position my work on the shelf.


Wednesday 15 October 2014

DECOUPAGE: MONEY BOX FOR MY SON


Here is a money box decorated with acrylic paint, stencils, stamps and napkins. 


I'm very pleased with the results, and so is Adam. 


Tuesday 23 September 2014

DECOUPAGE: PORTRAIT ON A WOODEN BOARD


Today I'd like to start a short series of presents for my mother-in-law, her twin sister and their brother. I thought there was nothing that would satisfy those proud grandparents more than the likenesses of their lovely descendants. Each portait was made in different style and technique to match different interiors they're going to hang in, but the connecting line between them is that they're all made on wood. 

The portrait I'm presenting today was made on a small cutting board. I painted the wooden board with purple wood stain, then applied one coat of crackle varnish and painted the board with white paint mixed with a hint of the purple stain I'd used before.
For the image I used a family photograph which I had processed slightly by adding some purple undertones to it. I wetted the edges of the laser printer printout to be able to rip the contours off nicely and achieve this battered vintage look.
I glued the image on using transfer gel and removed the excess paper by rolling it with wet fingers.
Then the time came for some final touches, scrubbing the edges with sandpaper, reapplying some wood stain in places where bare wood was unveiled, used an ornamental stamp with pearly ik in the upper corners, coated the finished work with a couple of layers of matte acrylic varnish, tied a ribbon with a purple wooden bead and that was it!

Saturday 20 September 2014

GARDEN INSPIRATIONS


Pictures taken in the former shipyard area during our trip to the newly opened Museum of Solidarity. The first one is a mural that dates back to the golden age of the shipyard back in the communist times. The remaining pictures are true enlightenment to someone who hates gardening, stubbornly refuses to burrow in dirt, makes all plants wilt yet has to do something with a couple of hundred square metres of  uncultivated land. A  


Buffett, where the pictures were taken, is a brand new discovery of ours. Located in the most industrial part of the city, hardly visited by anyone, is a perfect place for thirsty parents who won't be frowned upon because they've brought children to the pub and whose kids may run wild without the the risk of being pancaked by a car or scolded by an elderly lady. 


Friday 19 September 2014

DECOUPAGE: MASONIC BOOK


My future target is to hack Ikea Alex chest of drawers, but in order to do that quite professionally I need to start small to gain hands-on knowledge about materials and techniques I'm going to apply, to master my skills, to learn from my mistakes to move on to bigger objects.

I know I should have taken pictures of work in progress, but the idea of running a blog devoted to crafts hadn't occured to me until a couple of days ago. So the bare description will have to do.


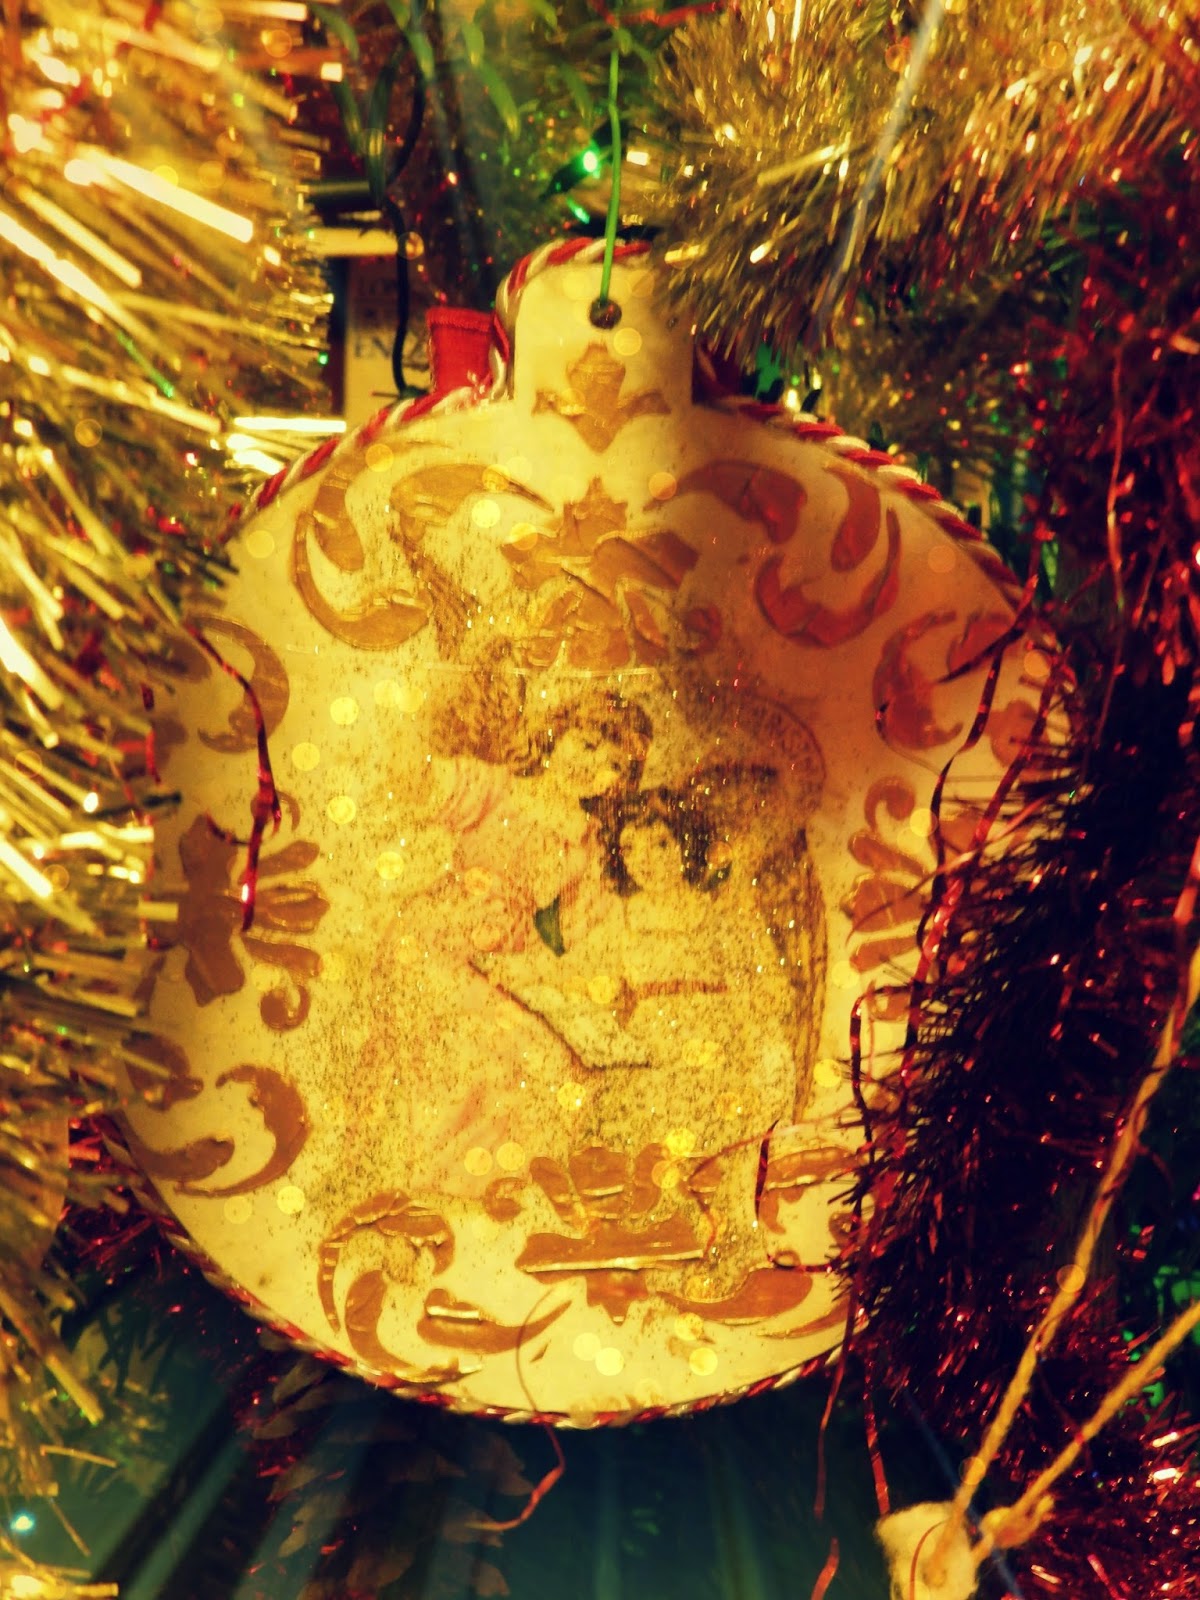
The Masonic Book is my favourite work so far. 
I started with painting the wooden, book-shaped box the colour of cigar (my favourite acrylic paint, love the shade). Then I covered the spine with crackle vernish and let dry briefly. I rubbed all edges with a candle to make scrubing with sandpaper easier and less abrasive and applied two coats of cream matte acrylic paint to the cover and inside the box. 


Then, using the same paint and a stamp I added the handwriting on the cover, and in the inner part of the box I used a clear plastic pattern.
On top of that I decided to stick 2 images printed on an ordinary laser printer, using two different fechniques.The owl on a skull was a piece of cake. I soaked it well in water and then patted dry with a tissue and glued with decoupage glue.
The second one was more challenging. I coated the face of the image with Heritage Transfer Glaze, then soaked in water and rubbed off most of paper on the reverse. To prevent the image from getting deformed, I glued it on the book cover. Once dry I wet the image slightly and continued rubbing the image, rinsing it briefly, letting it dry  and repeated the process a couple of times. When I was finally satisfied with the result, I evened out the edges of the image with sand paper making it look old and battered at the same time. Then I ran sandpaper along all the edges, previously rubbed with a candle to give the box the vintage look I like co much. Finally I coated the whole work with matte acrylic varnish and that was done!

I must say I'm very pleased with the results. This box is a present for my mum. I hope she likes it! 


INTRO